


Before and After - Japanese Juniper
+2
Pavel Slovák
Samson Chong
6 posters
Page 1 of 1

 Before and After - Japanese Juniper
![]() Samson Chong Mon Aug 01, 2011 6:10 am
Samson Chong Mon Aug 01, 2011 6:10 am
I just bought the Japanese Juniper last week on a new nursery that I found out lately. The nursery owner started as a hobby and after his retirements he just open a small nursery and his backyards. Maybe plan to interview the owner to share his bonsai hobby milestone also some of his masterpiece. Just to share before and after my Japanese Juniper styling to u all, comment is welcome.
Before Styling

After Styling - Refer Chokkan style
Front View

Side View

Next approach
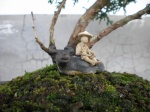
On the bottom of the branches create a deadwood effect.

Thanks for viewing. More picture or detail of the styling u can check on my blog.
Before Styling
After Styling - Refer Chokkan style
Front View
Side View
Next approach
On the bottom of the branches create a deadwood effect.
Thanks for viewing. More picture or detail of the styling u can check on my blog.
Samson Chong- Member

Re: Before and After - Japanese Juniper
![]() Pavel Slovák Mon Aug 01, 2011 7:40 am
Pavel Slovák Mon Aug 01, 2011 7:40 am
Hi Samson
I'll be honest. I do not know where you are going. What outcome - the shape will be. I think you're on the trunk of the tree will soon eliminate many branches, that could be used. Create a floor in one plane does not think in terms of aesthetics good. Sorry.
I think you would in the current state of the tree given to creating an interesting shape strain. Use the branches that remained.
Gretings Pavel

Pavel Slovák- Member
Re: Before and After - Japanese Juniper
![]() my nellie Mon Aug 01, 2011 9:43 am
my nellie Mon Aug 01, 2011 9:43 am
I am a beginner and I keep on collecting knowledge, but I am afraid that I can myself realize what Pavel has just written to you....
On the condition that the owner of the nursery is so experienced in bonsai (and his trees are not just acquired from other artist...), I think that you have had the opportunity to ask his basic guidelines in styling before you had begun anything on the tree. But you can go back and ask his help though.... About wiring too.
Anyway, most of us have made such kind of mistakes
You have now a tree to experiment with and I am sure your next juniper will get styled on a more knowledgeable basis
A small piece of advice from a beginner...., if I may....Samson Chong wrote:... ...Maybe plan to interview the owner to share his bonsai hobby milestone also some of his masterpiece. ... ...
On the condition that the owner of the nursery is so experienced in bonsai (and his trees are not just acquired from other artist...), I think that you have had the opportunity to ask his basic guidelines in styling before you had begun anything on the tree. But you can go back and ask his help though.... About wiring too.
Anyway, most of us have made such kind of mistakes
You have now a tree to experiment with and I am sure your next juniper will get styled on a more knowledgeable basis

my nellie- Member
Re: Before and After - Japanese Juniper
![]() Samson Chong Mon Aug 01, 2011 3:19 pm
Samson Chong Mon Aug 01, 2011 3:19 pm
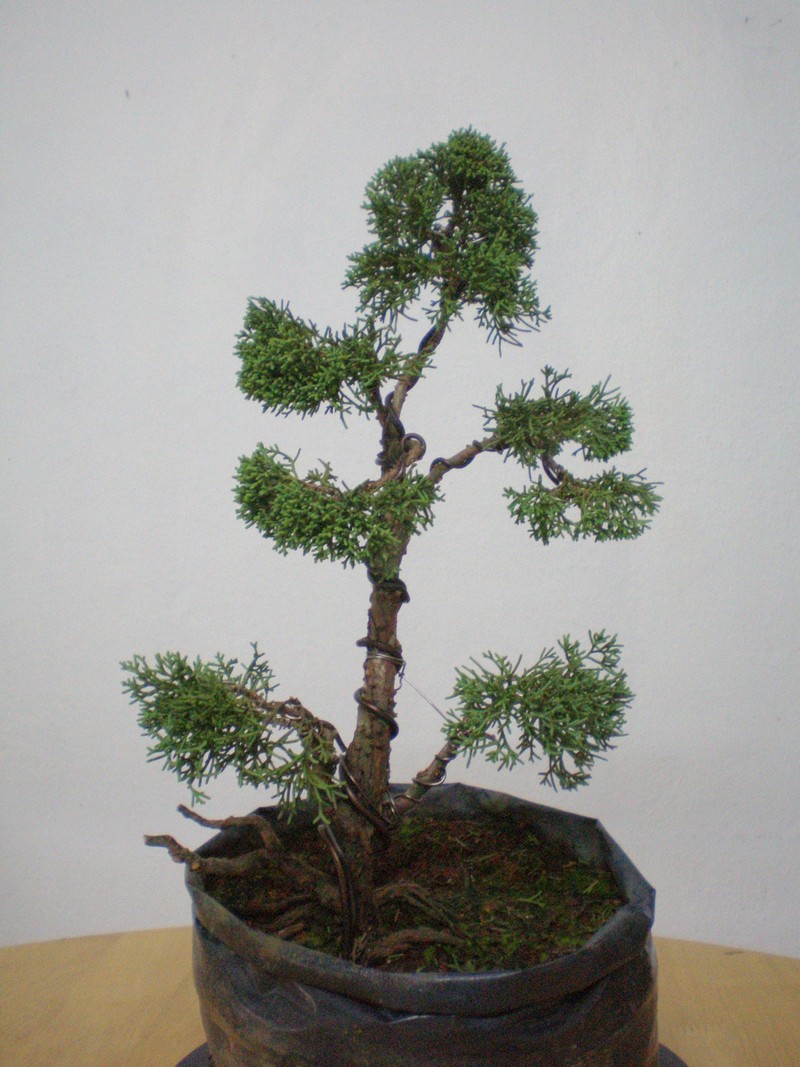
Hi, Pavel. Thanks for the advice. After reading your comment feel sad & like hit by a bullet in the head feeling. Since it's a bad styling I don't mind to get bad comment but not late to be improve time to time. I had come out with 2nd styling that I think better that the first one. Hope to get a improvement comment from u. When learning from the expert always get the first hit. HA!
Nellie@:- Thanks for the kind comment. Since I had the 2nd styling I still think there is still a room to be improve. If time available this weekend I will bring my bonsai to visit the nursery to seek advice from owner.
Second Styling
Nellie@:- Thanks for the kind comment. Since I had the 2nd styling I still think there is still a room to be improve. If time available this weekend I will bring my bonsai to visit the nursery to seek advice from owner.
Second Styling
Samson Chong- Member
Re: Before and After - Japanese Juniper
![]() PkWk Mon Aug 01, 2011 3:29 pm
PkWk Mon Aug 01, 2011 3:29 pm
My point of view, yr juniper is now more suitable for a cascading or semi cascading style than an upright.
PkWk- Member
Re: Before and After - Japanese Juniper
![]() Russell Coker Mon Aug 01, 2011 4:44 pm
Russell Coker Mon Aug 01, 2011 4:44 pm
Hi Samson.
I'm glad Pavel told you what he did, and I'm glad you didn't take it personally. This is an easy mistake for a beginner to make. The advice you have received so far is good, ask for help. Hopefully, the nursery owner actually knows something about styling bonsai and isn't just a grower - those can be very different things!
Take your time studying your material and form a plan. It's okay to leave too many branches on a young tree. As it grows and changes, your plan may change too. Branches = options, leave yourself MANY! You can always take them off, but they are hard to put back on.
Russell

Russell Coker- Member
Re: Before and After - Japanese Juniper
![]() Benjamin Mon Aug 01, 2011 6:19 pm
Benjamin Mon Aug 01, 2011 6:19 pm
Samson, your second styling is a big improvement. Keep up the good work and continue to solicit advice from people who are knowledgeable.
Benjamin- Member
» Japanese Juniper
» Japanese Juniper dead?
» Winter Care for Dwarf Japanese Juniper
» Why graft japanese white pines? And, why only japanese trees?
» Juniperus flaccida(Weeping Juniper or Mexican Juniper)
» Japanese Juniper dead?
» Winter Care for Dwarf Japanese Juniper
» Why graft japanese white pines? And, why only japanese trees?
» Juniperus flaccida(Weeping Juniper or Mexican Juniper)
Page 1 of 1
Permissions in this forum:
You cannot reply to topics in this forum