


First attempt styling a windswept tree.
3 posters
Page 1 of 1

 First attempt styling a windswept tree.
![]() lennard Sun Nov 03, 2013 6:05 pm
lennard Sun Nov 03, 2013 6:05 pm
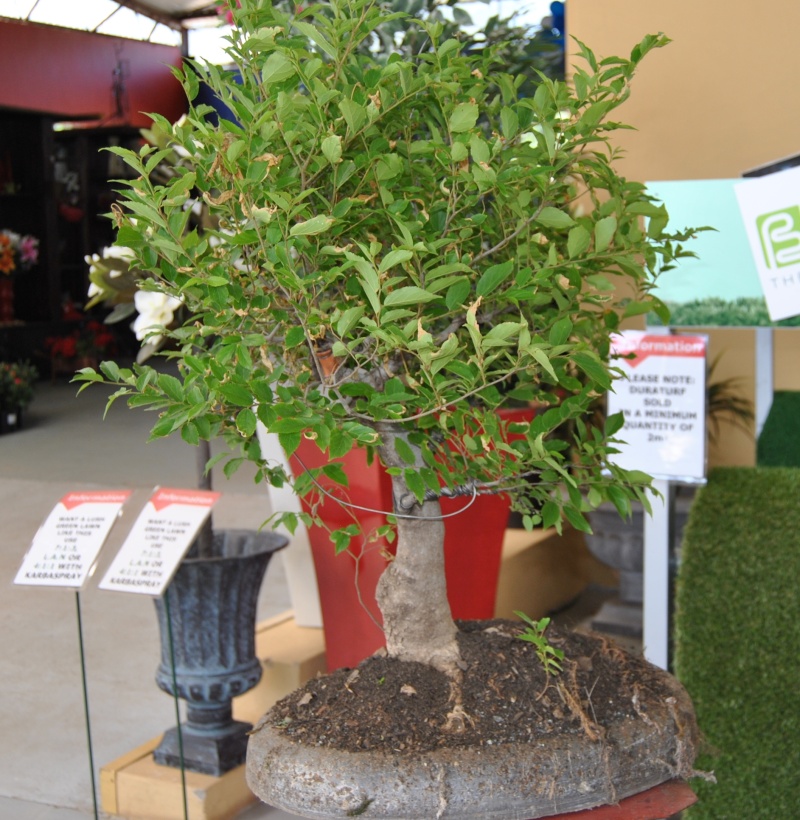
I got this tree(for free) from a guy(Erik) who emigrated in 2012 to Malaysia. He got the tree from his father and he wanted for his tree to be cared for.
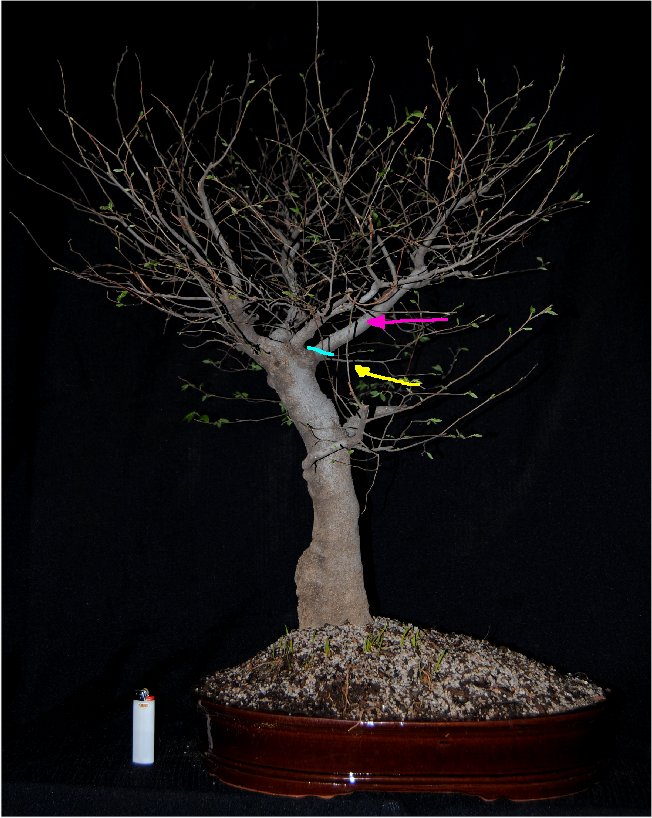
This is the tree May 2012:
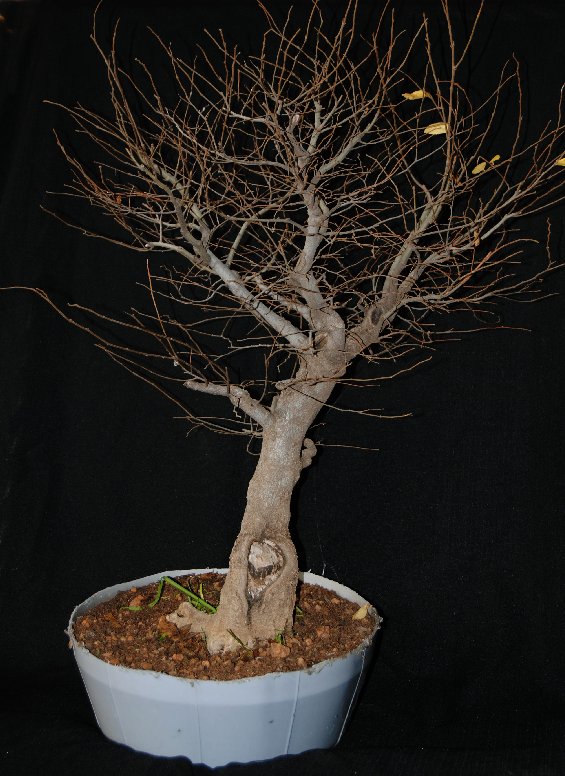
From the start the tree portrayed a windswept feel, and I decided to pursue the style. I had to do a lot of research because windswept trees are very difficult for me to visualize, especially the branch and twig structure.
I did not want to have a tree with defined pads like this:
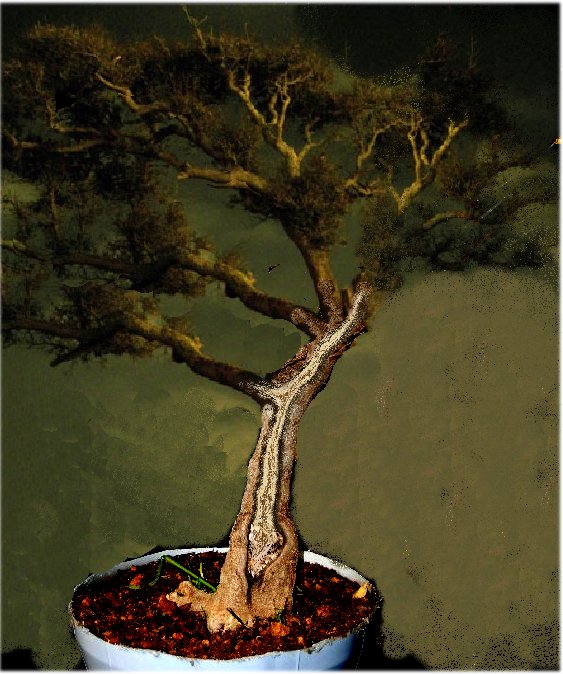
Looking through hundreds of pictures on the net I found this real life windswept tree and did a virtual of my tree next to it:
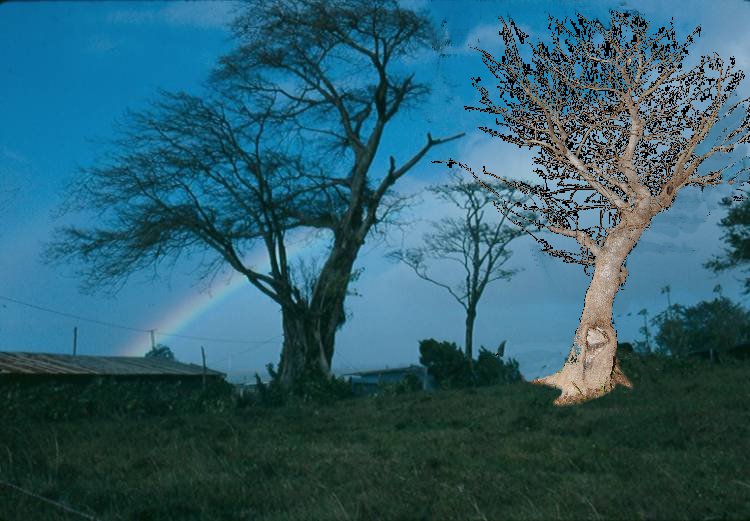
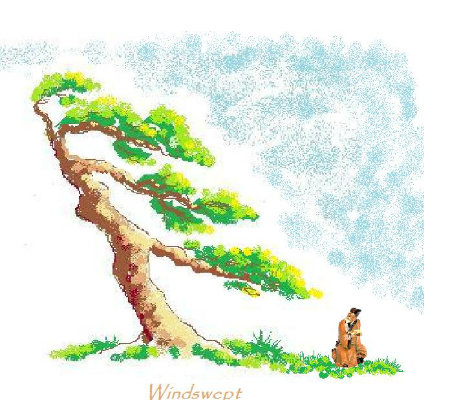
I liked this image and was convinced that broadleaved trees, like my Celtis, can look like this. I studied branch and twig structures of other windswept bonsai and I like this:
Drawing inspiration from guys like Robert Stevens and Jun, I decided to give it a try.
I decide to get rid of this branch because it was straight and very close to the upper branches (August 2012):
The tree from the other side:
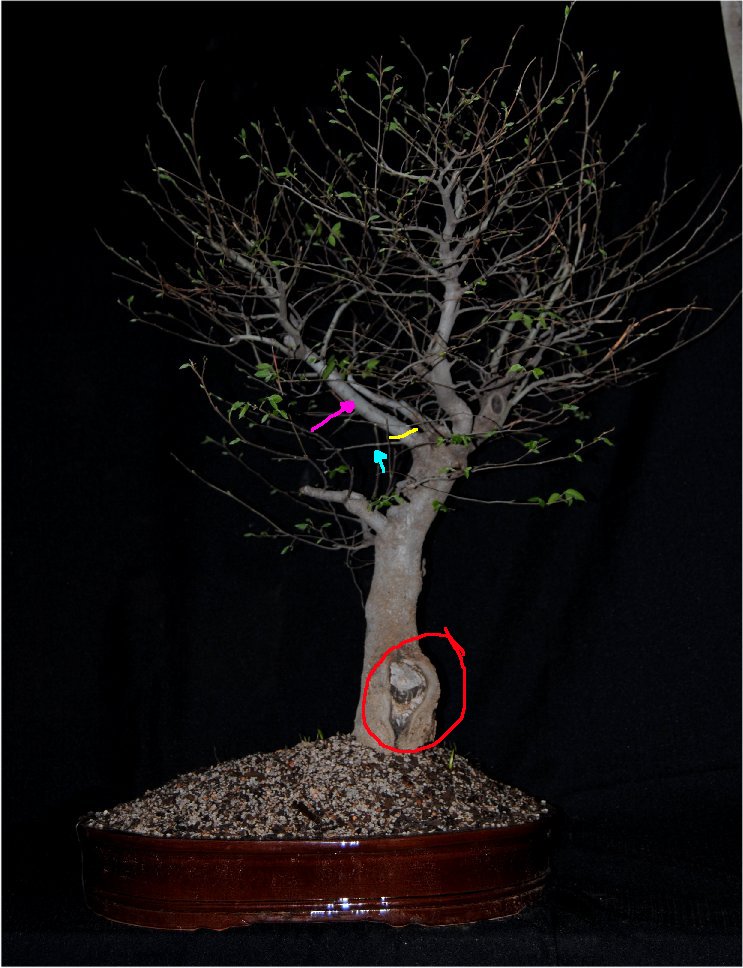
Looking at the above image there may be some deadwood incorporated into the design.
The deadwood can be connected to the apex of the tree if needed:
(The branch structure don't look good in this virt!)
This is the tree October 2012 after some heavy cut backs:
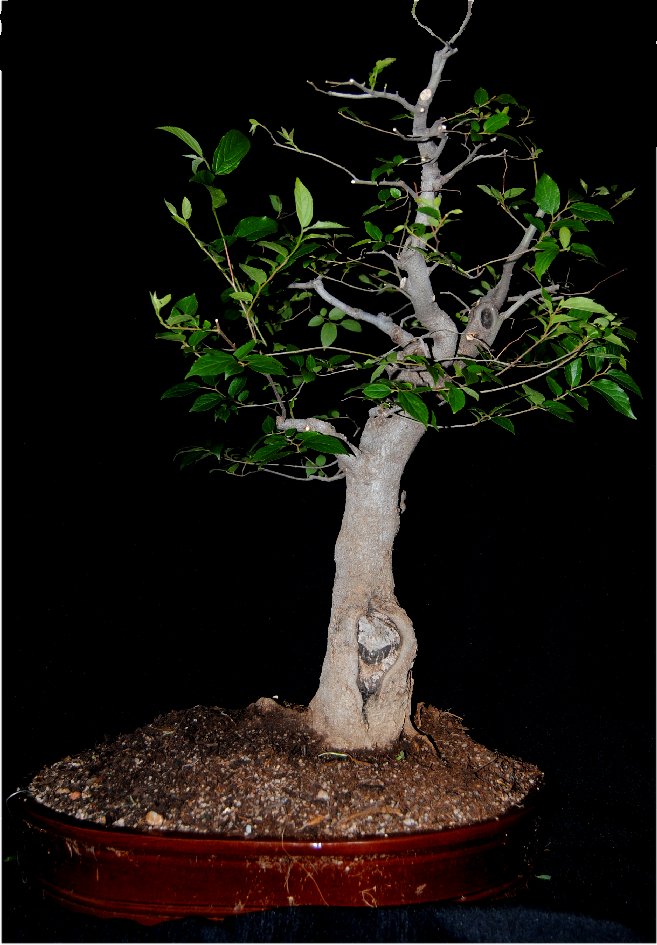
From there I left the tree to grow freely. It got a bit dry in the beginning of the growing season but no harm done. This is the tree yesterday at a nursery where we showed and worked on some trees:
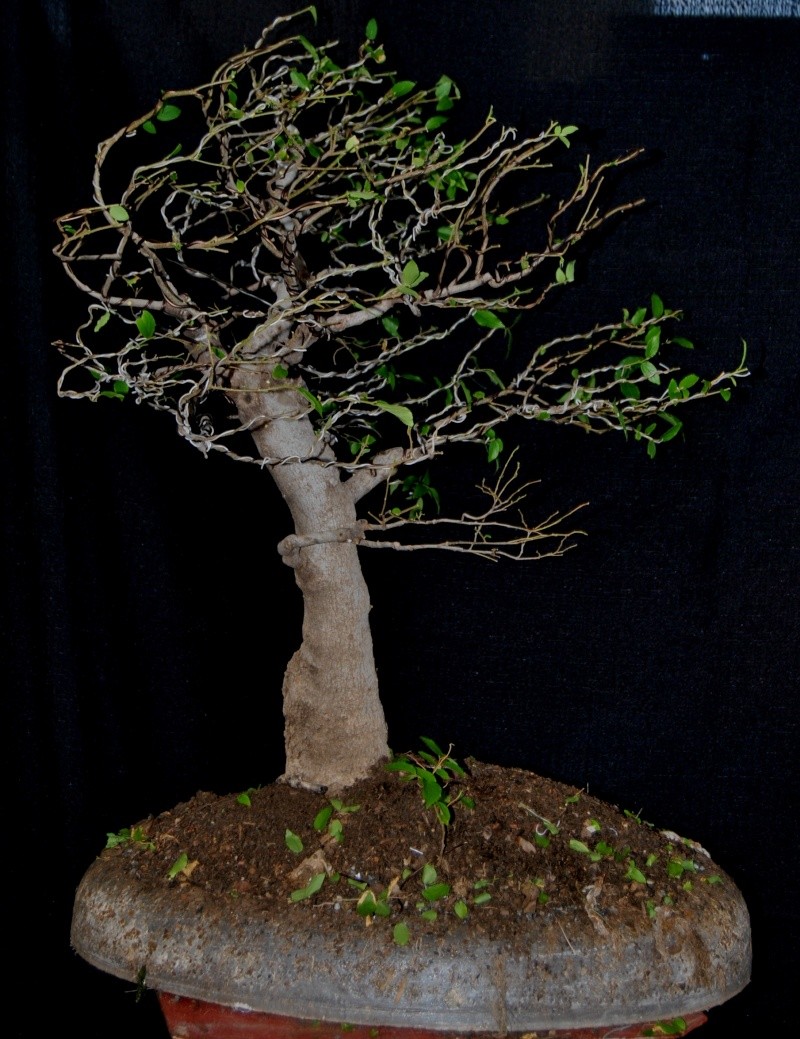
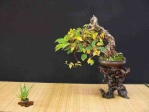
Defoliating the tree and wiring every branch and twig took me about 5 hours! After wiring the tree and styling it this is how it looks now:
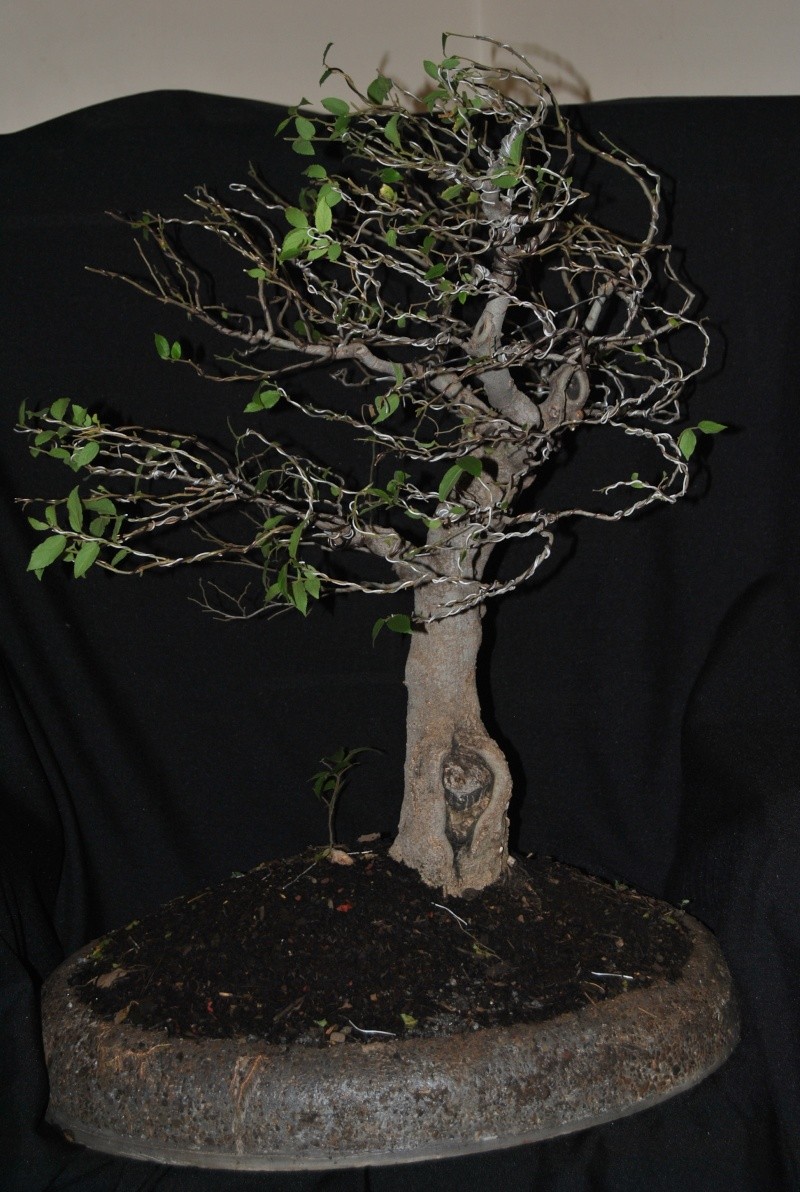
The other side:
Being my first real windswept I am happy with the outcome.
The nebari is covered by a mulch and the tree is in one of my ugly Rockset pot creations.
The crown seems a little bit crowded by all the branches, twigs and the wire accentuate this......should it be thinned out a bit?
The tree does look to be too vigorous for a struggling tree?
Any comments and advice will be appreciated.
Lennard
This is the tree May 2012:
From the start the tree portrayed a windswept feel, and I decided to pursue the style. I had to do a lot of research because windswept trees are very difficult for me to visualize, especially the branch and twig structure.
I did not want to have a tree with defined pads like this:
Looking through hundreds of pictures on the net I found this real life windswept tree and did a virtual of my tree next to it:
I liked this image and was convinced that broadleaved trees, like my Celtis, can look like this. I studied branch and twig structures of other windswept bonsai and I like this:
Drawing inspiration from guys like Robert Stevens and Jun, I decided to give it a try.
I decide to get rid of this branch because it was straight and very close to the upper branches (August 2012):
The tree from the other side:
Looking at the above image there may be some deadwood incorporated into the design.
The deadwood can be connected to the apex of the tree if needed:
(The branch structure don't look good in this virt!)
This is the tree October 2012 after some heavy cut backs:
From there I left the tree to grow freely. It got a bit dry in the beginning of the growing season but no harm done. This is the tree yesterday at a nursery where we showed and worked on some trees:
Defoliating the tree and wiring every branch and twig took me about 5 hours! After wiring the tree and styling it this is how it looks now:
The other side:
Being my first real windswept I am happy with the outcome.
The nebari is covered by a mulch and the tree is in one of my ugly Rockset pot creations.
The crown seems a little bit crowded by all the branches, twigs and the wire accentuate this......should it be thinned out a bit?
The tree does look to be too vigorous for a struggling tree?
Any comments and advice will be appreciated.
Lennard
Last edited by lennard on Sun Nov 03, 2013 6:13 pm; edited 1 time in total (Reason for editing : spelling)

lennard- Member

Re: First attempt styling a windswept tree.
![]() lennard Tue Nov 05, 2013 11:31 am
lennard Tue Nov 05, 2013 11:31 am
Mmmm...no comments?lennard wrote:
Any comments and advice will be appreciated.
The tree is either really very good looking or I have done a bad job?
A friend, Amith, from SAbonsai forum, gave the following option:
This virt shows a tree where the wind is blowing downward on a hill.
The tree in the virt shows a lot more movement making it more dramatic?
Lennard
lennard- Member
Re: First attempt styling a windswept tree.
![]() Guest Tue Nov 05, 2013 11:37 am
Guest Tue Nov 05, 2013 11:37 am
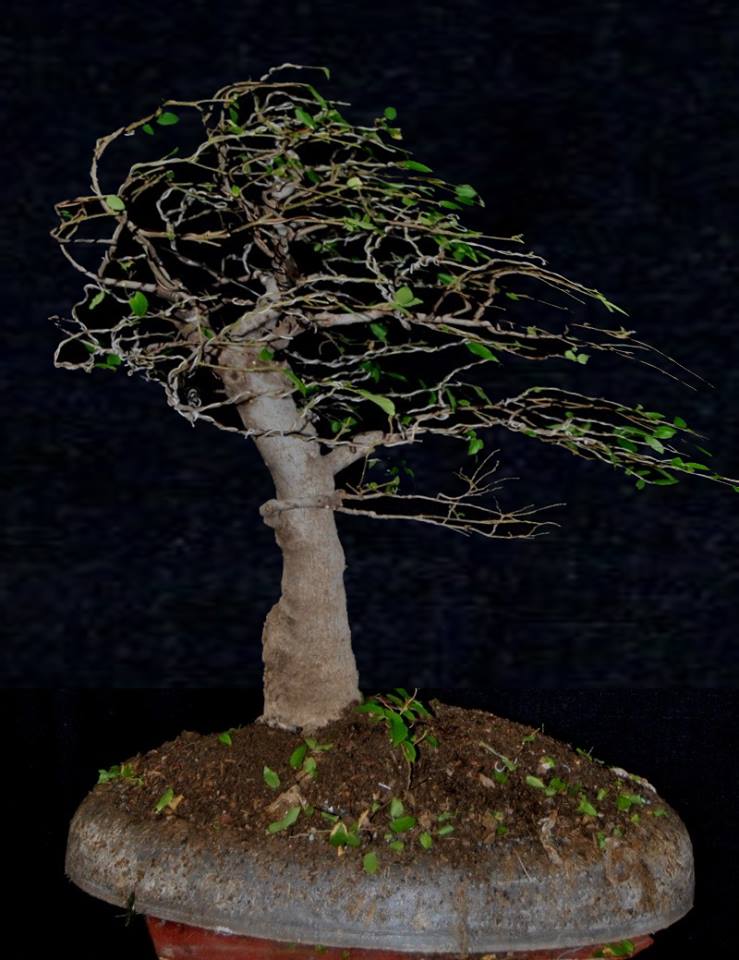
I like the last picture as front Lennard. Do not cut the dead much higher. Just let the tree grow with more branches and twigs. Control the top if you need to cut, and let the lower branches go longer to thicken then cut it back hard like clip and grow.
regards,
jun
regards,
jun
Guest- Guest
Re: First attempt styling a windswept tree.
![]() Andre Beaurain Tue Nov 05, 2013 2:03 pm
Andre Beaurain Tue Nov 05, 2013 2:03 pm
Well done Lennard!
I also like the last photo as the front.
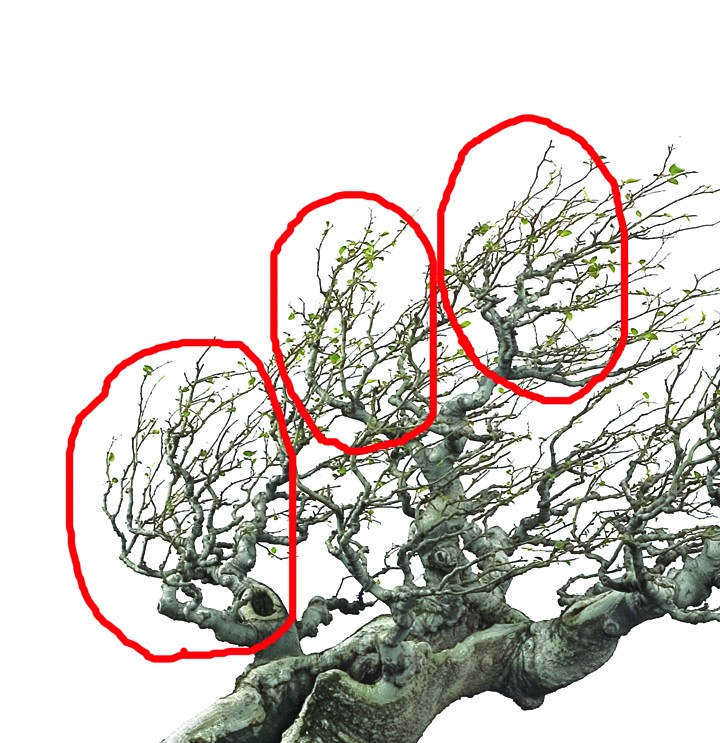
The branches on the left hand side should go upwards and not in the same direction as the rest of the branches on the right... this I learned from Robert's books. 'Think of a womens skirt bellowing in the wind'... He said..
Look at the three red circles you draw on the windswept tree. On the left the branches tend to blow upwards and the more right you go the flatter they become, if you follow my drift..
Love and light
I also like the last photo as the front.
The branches on the left hand side should go upwards and not in the same direction as the rest of the branches on the right... this I learned from Robert's books. 'Think of a womens skirt bellowing in the wind'... He said..
Look at the three red circles you draw on the windswept tree. On the left the branches tend to blow upwards and the more right you go the flatter they become, if you follow my drift..
Love and light

Andre Beaurain- Member
 " />
" />
Windswept
![]() lennard Tue Nov 05, 2013 6:53 pm
lennard Tue Nov 05, 2013 6:53 pm
Thanks for the advice - I am following your windswept projects closely and they are maturing nicely. I will follow your advice.jun wrote:I like the last picture as front Lennard. Do not cut the dead much higher. Just let the tree grow with more branches and twigs. Control the top if you need to cut, and let the lower branches go longer to thicken then cut it back hard like clip and grow.
Lennard
lennard- Member
Re: First attempt styling a windswept tree.
![]() lennard Tue Nov 05, 2013 6:59 pm
lennard Tue Nov 05, 2013 6:59 pm
Thanks.Andre Beaurain wrote:
The branches on the left hand side should go upwards and not in the same direction as the rest of the branches on the right... this I learned from Robert's books. 'Think of a womens skirt bellowing in the wind'... He said..
Look at the three red circles you draw on the windswept tree. On the left the branches tend to blow upwards and the more right you go the flatter they become, if you follow my drift..
That was my intention but spending so much time on the tree I lost focus.
I think one must do this in stages: first defoliation, then rest for a day and study the branch/twig's structures; then wiring and after another day the styling.
I have saved a lot of images of windswept trees on my laptop- would have helped also if I got them there at the nursery!
(
Lennard
lennard- Member
Re: First attempt styling a windswept tree.
![]() lennard Tue Nov 05, 2013 7:02 pm
lennard Tue Nov 05, 2013 7:02 pm
Slanting it is going to be a difficult option. The tree has very old looking roots and that would take them out of the soil level. To regrow the roots will take forever!abcd wrote:To bend on tha left.
Lennard
lennard- Member
» Windswept first styling
» Windswept -Before and after 1st styling
» First Styling for Me and the Tree
» tapered tree first styling
» tree with ugly cut-progress styling
» Windswept -Before and after 1st styling
» First Styling for Me and the Tree
» tapered tree first styling
» tree with ugly cut-progress styling
Page 1 of 1
Permissions in this forum:
You cannot reply to topics in this forum|
|
|