


And so it begins....
Page 1 of 1

 And so it begins....
![]() Gentleman G. Sat Jul 09, 2011 8:41 pm
Gentleman G. Sat Jul 09, 2011 8:41 pm
Well, I got my clay and glazes on Thursday and started playing around. I've really just been getting a feel for the clay and expirementing with different techniques. I started off by making a pinch pot with Laguna Clay's "calico" clay (which is gray wet, but fires to a tan color with brown specks) and letting it dry out a bit before intentionally cracking it (I've watched videos on a similar technique that requires a potter's wheel, which I don't have). Next, I made a slab built rectangle out of Laguna Clay's "electric brown". Then, yesterday, I noticed one of my daughters little cheapy bowls had a pretty nice shape to it and decided to use it for a mold (I used the "calico" clay for this). This morning, I decided to make another pinch pot and it turned out pretty nice! Unfortunately, the cracked accent pot cracked a little too much and I broke it while trying to fix it  and the brown rectangle lost a foot while drying. However, I know exactly what I did wrong in both cases. I broke the cracked pot myself, and while making the rectangle, I didn't make the feet and the slabs at the same time causing the pot to dry faster than the feet (plus I didn't make my slip properly). So far, I've been attaching my feet using the "score and slip" method. Is it better to attach feet this way, or to incorporate them into the forming of the pot??? I'm going to give the rectangle another shot tonight, and I also plan on doing a couple of hump/slump molds. After that, if I have time I think I'll try a tray/plate style pot. Ambitious, I know, but you gotta learn somehow right??? Here's some pics of my first few attempts, don't laugh too hard
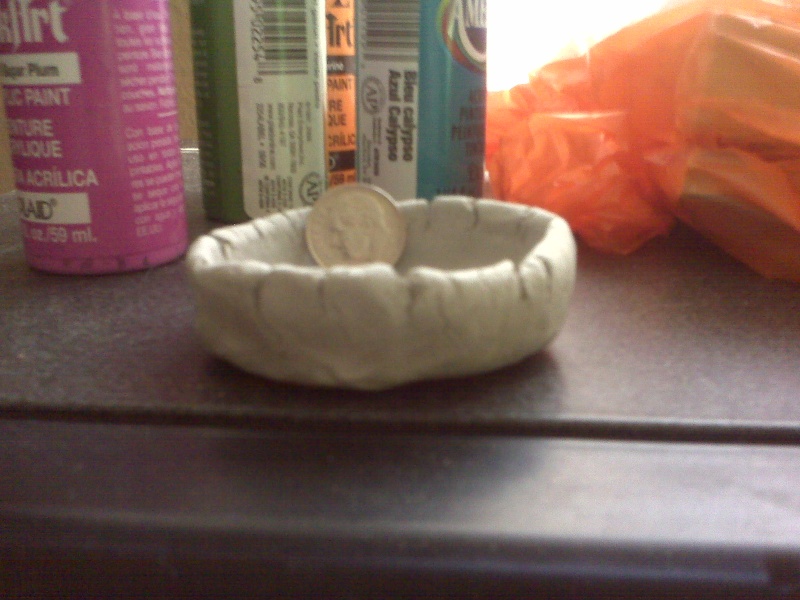
Cracked accent (pinch pot)
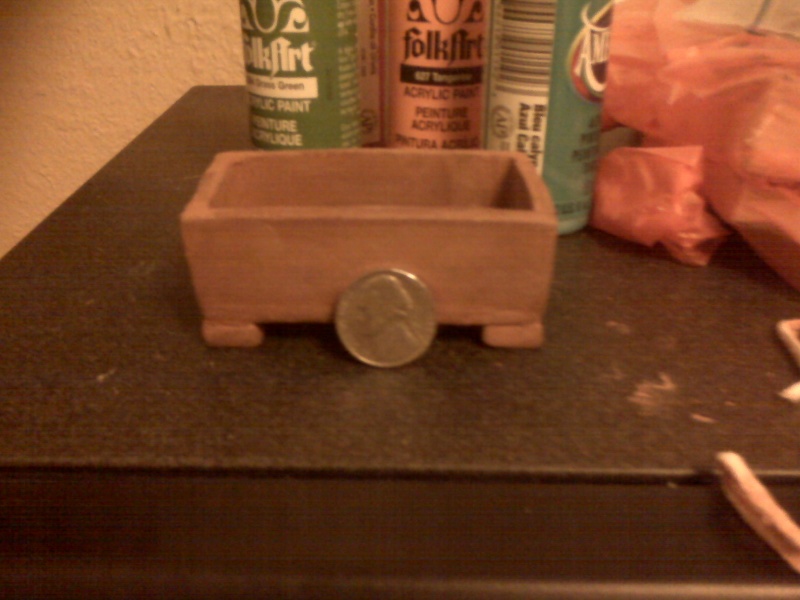
Rectangle (slab built)
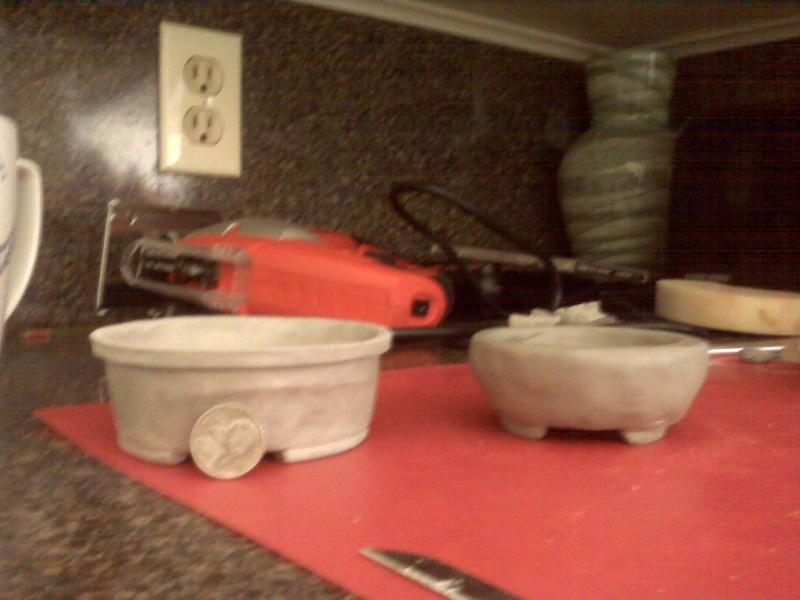
And two rounds (bowl mold on the left, the right is a pinch pot)
Keep in mind that these are the first four post I've ever made (except for some terrible pieces in school art class when I was a teen). I know they're not much, but I'm having fun and learning and that's what it's all about for me. For now, I'll let these dry along with my test tiles and then begin glaze tests (after bisque firing, of course). Well, off to go make some more pots As always, any feedback is greatly appreciated (critiques too, my feelings aren't easily hurt).
G
P.S.
Try to keep remember that when I write my posts I write them as though a beginner may be reading them. Don't want anybody to think I'm talking down to people or acting like I know it all (or that you dont).
Cracked accent (pinch pot)
Rectangle (slab built)
And two rounds (bowl mold on the left, the right is a pinch pot)
Keep in mind that these are the first four post I've ever made (except for some terrible pieces in school art class when I was a teen). I know they're not much, but I'm having fun and learning and that's what it's all about for me. For now, I'll let these dry along with my test tiles and then begin glaze tests (after bisque firing, of course). Well, off to go make some more pots
G
P.S.
Try to keep remember that when I write my posts I write them as though a beginner may be reading them. Don't want anybody to think I'm talking down to people or acting like I know it all (or that you dont).

Gentleman G.- Member

Page 1 of 1
Permissions in this forum:
You cannot reply to topics in this forum|
|
|